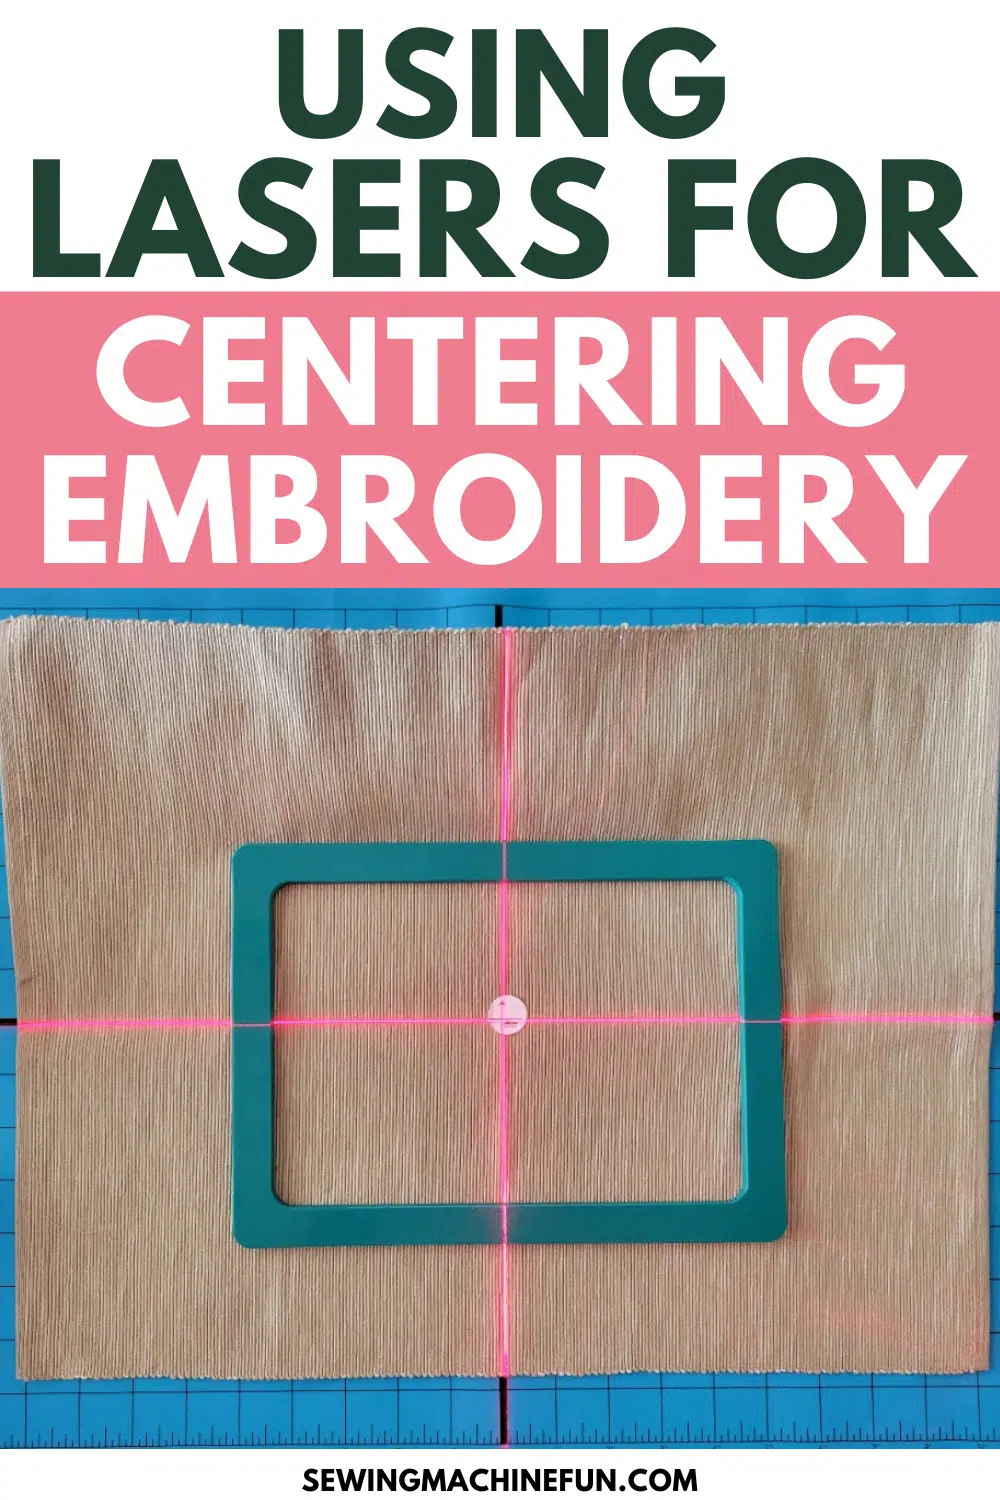
Using a Perfect Alignment Laser for Embroidery (PAL3 Tips!)
This post may contain affiliate links, which means I’ll receive a commission if you purchase through my links, at no extra cost to you. I sometimes receive free products for review. Please read disclosure for more information.
I’m an eye doctor who saw too many laser retinopathies in practice; thus, lasers make me anxious.
However, I’m also a gal who loves precision when sewing and embroidering, so I’ve gotten used to working safely with lasers. For instance, my Brother Luminaire embroidery machine has laser options for precise seam allowances, and I love them, especially when piecing quilts.
And, centering embroidery designs using lasers is now a new favorite pastime, thanks to the perfection I can achieve when hooping and floating.
Read on to learn more about using lasers (specifically, the Perfect Alignment Laser) for embroidery positioning!
Creating Your Own vs. Buying an Embroidery Laser
I will confess that I am super thrifty, and my first experience with laser alignment was done using two laser levels (one from our garage and a second matching laser I purchased.)

When I needed to center a tricky embroidery blank, I would slant these lasers on two pieces of wood, align them painstakingly, and go about hooping or floating.
This method was cheap but also frustrating because of the time required for setup and fine-tuning to ensure the laser was high enough for hoop edges not to obstruct its path.
As such, I used this method only in the rarest of circumstances.
Thus, when DIME sent me their PAL 3 laser, I chunked the old setup to try out their professional product!
I now try and use this method more often to make centering embroidery designs more perfect, as it’s SO MUCH easier to set up. (PS, you can buy a PAL from the dime website or Amazon.)
How to Use the DIME Perfect Alignment Laser for Embroidery
Now, let’s get into the fun details!
First, it’s important to achieve the optimal setup.
Different versions of the PAL embroidery laser come with different methods of stabilizing the laser. For instance, an earlier version was free-standing. (And many users complained that it toppled over too easily.)
The PAL3 thankfully has a small clamp that you can attach to the side of the table, so there’s no possibility of toppling. (It opens up to 2 1/4″ thick.)
Once you’ve stabilized the PAL, the next step is to use a non-slip surface to place your bottom hoop on. This means less playing “catch-the-hoop” when you place your blank or top hoop on it.

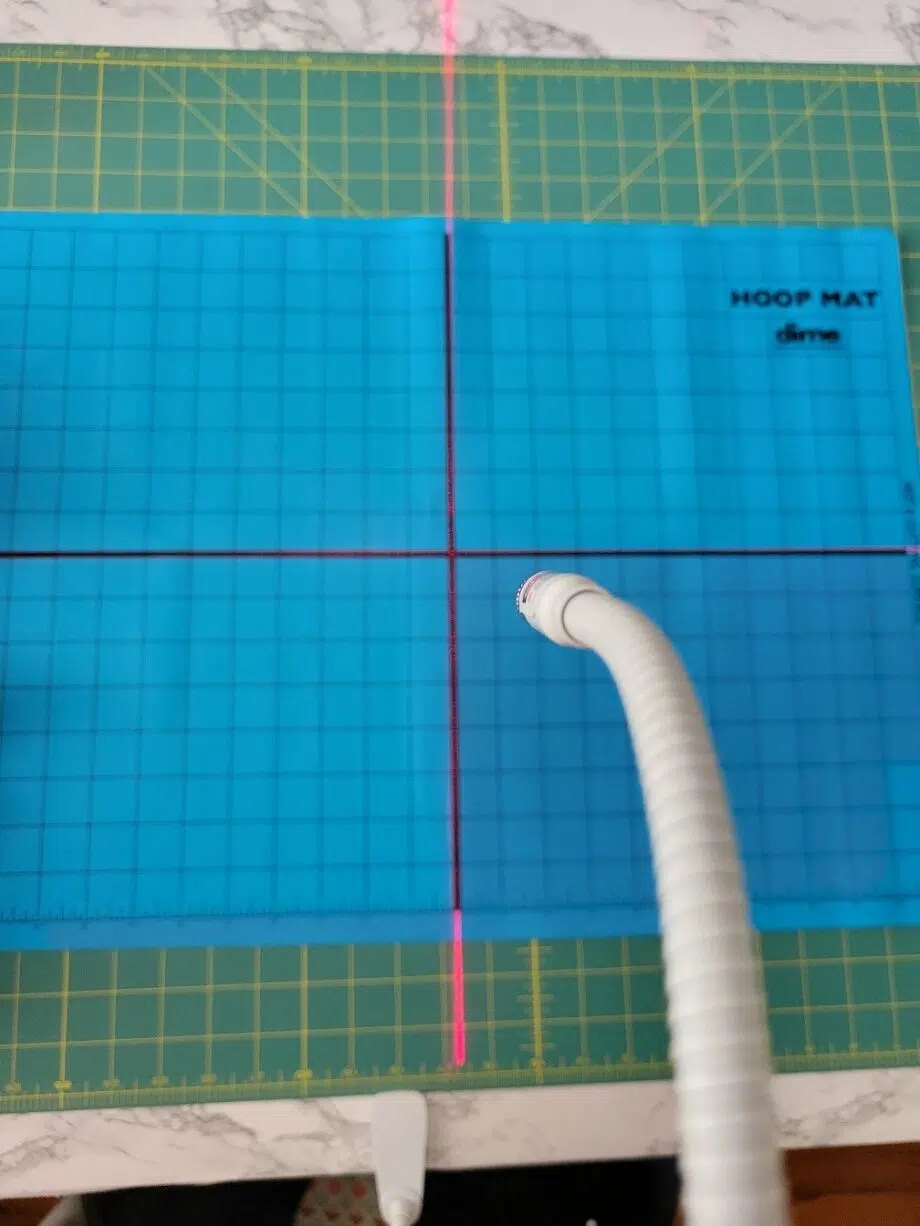
I used to use a silicone food mat of my daughter’s, but I purchased the dime HOOP MAT and prefer it for its larger area, especially for my 10 5/8″ x 16″ magnetic hoop. It also has grid lines, making placement more accurate and manageable.
Now, turn on your laser and line up the center of the mat with the center of the laser crosshairs. Twisting the laser tip helps and is easier than bending the neck for fine-tuning.
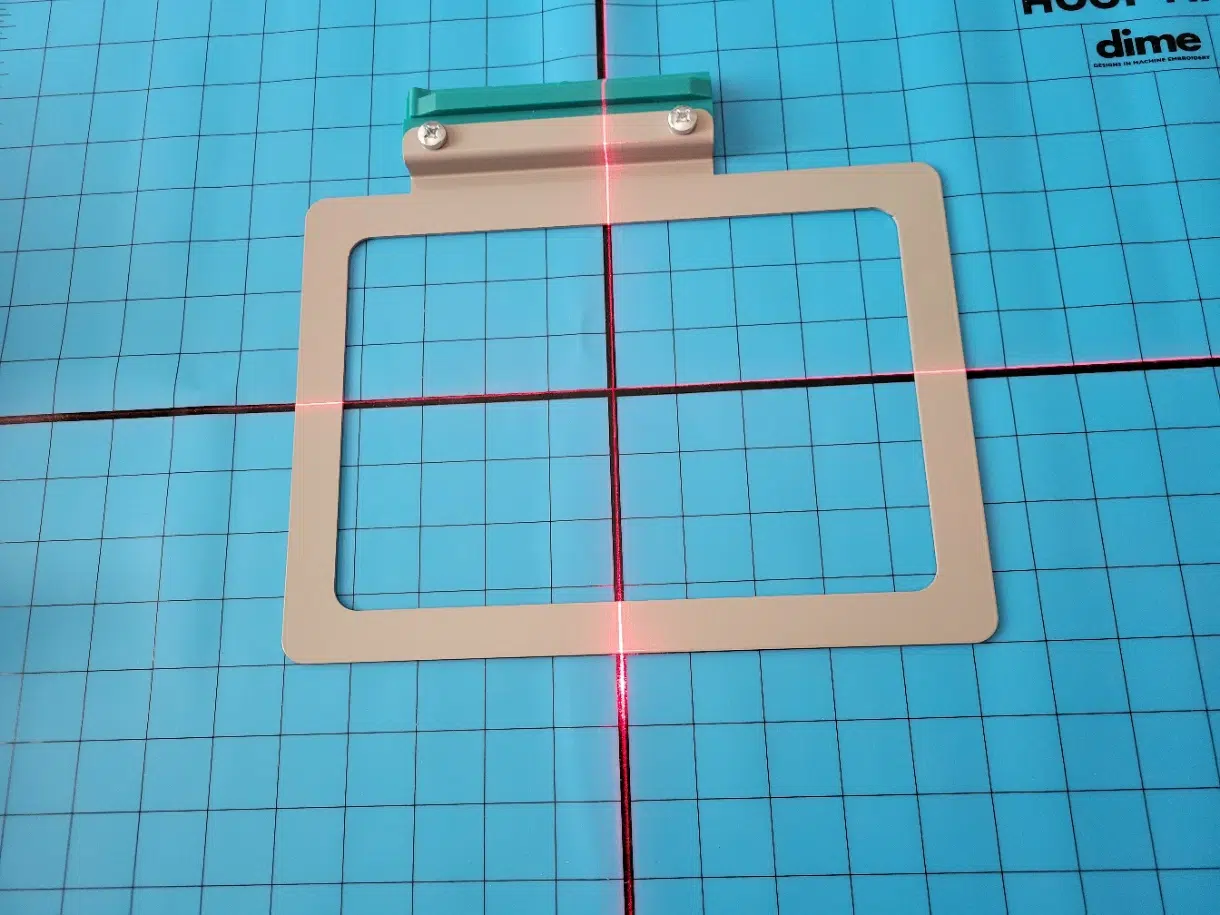
Then, place the bottom inner hoop (or the entire hoop if you are floating items) over the mat. If your design is large and you’ll need the entire embroidery field, ensure the center of the hoop and the center of the mat match.

If hooping, now place the stabilizer over the hoop.

Then, center the embroidery blank over the stabilizer, lining up the center of the marked blank with the crosshairs. (If hooping a quilt sandwich, you can skip the stabilizer.)
I used dime target stickers for centering where I wanted my design to go. However, you can make your own target stickers using color-coded Avery labels or use your preferred marking method.

Last, place the outer hoop over the embroidery blank, ensuring everything stays aligned. And that’s it!
As a note, if you’re using the PAL3 laser to line up blanks for floating (this is the case if you hoop sticky stabilizer in a regular embroidery machine hoop, for example), all you need to do is lay and align your hoop on the mat. Then, just match the blank’s center with the laser’s center over the hoop.
In cases like this, it helps to first mark the center of the embroidery area on the stabilizer and line this up with the crosshairs.
Tips for Using the DIME Perfect Alignment Laser
Designs in Machine Embroidery has had many years to perfect their laser embroidery system, but there are a few things to remember when using it to have a good experience.
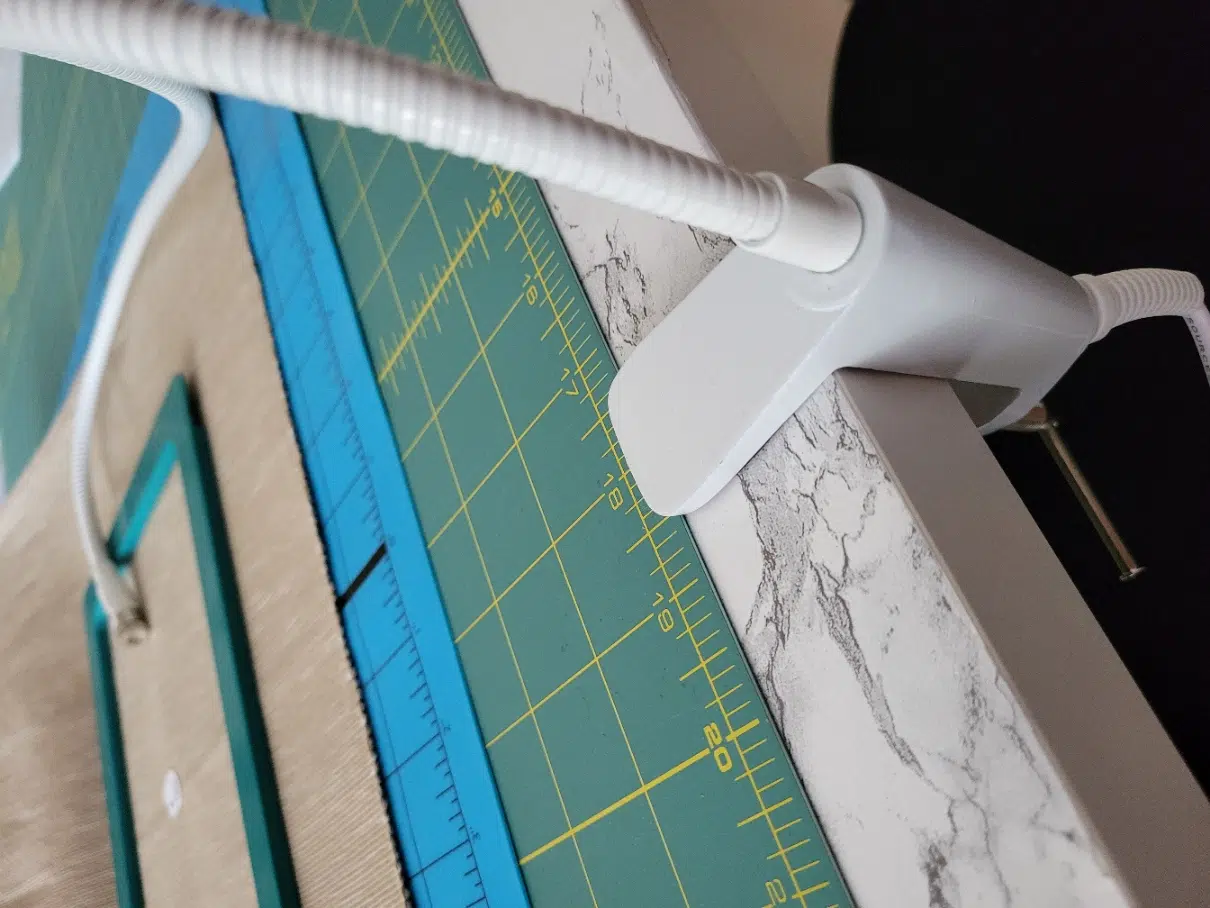
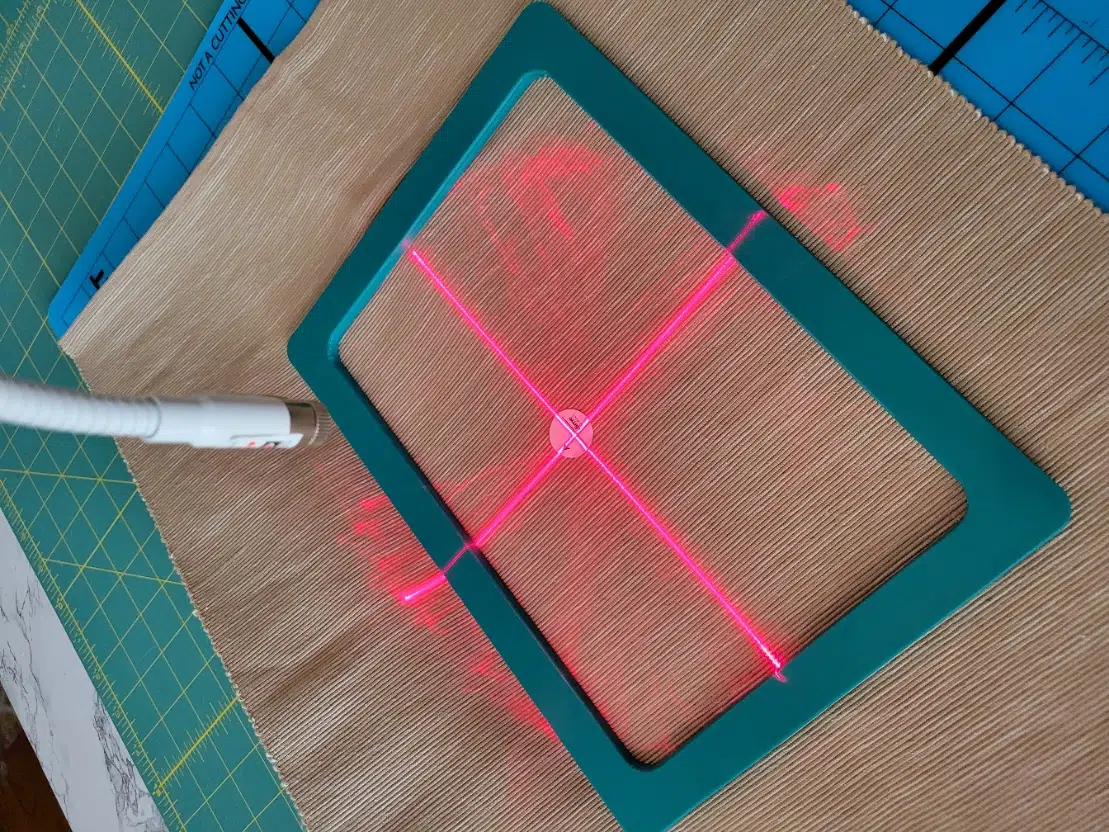
While the neck of the PAL3 is bendable, directing the laser to your project at too much of an angle results in crosshairs that are not perpendicular to each other but rather a little skewed.

See how above that vertical line doesn’t align with the crosshairs when I adjust from an angle?
When you set up the laser directly above your project, the odds of getting a perfectly perpendicular setup increase!
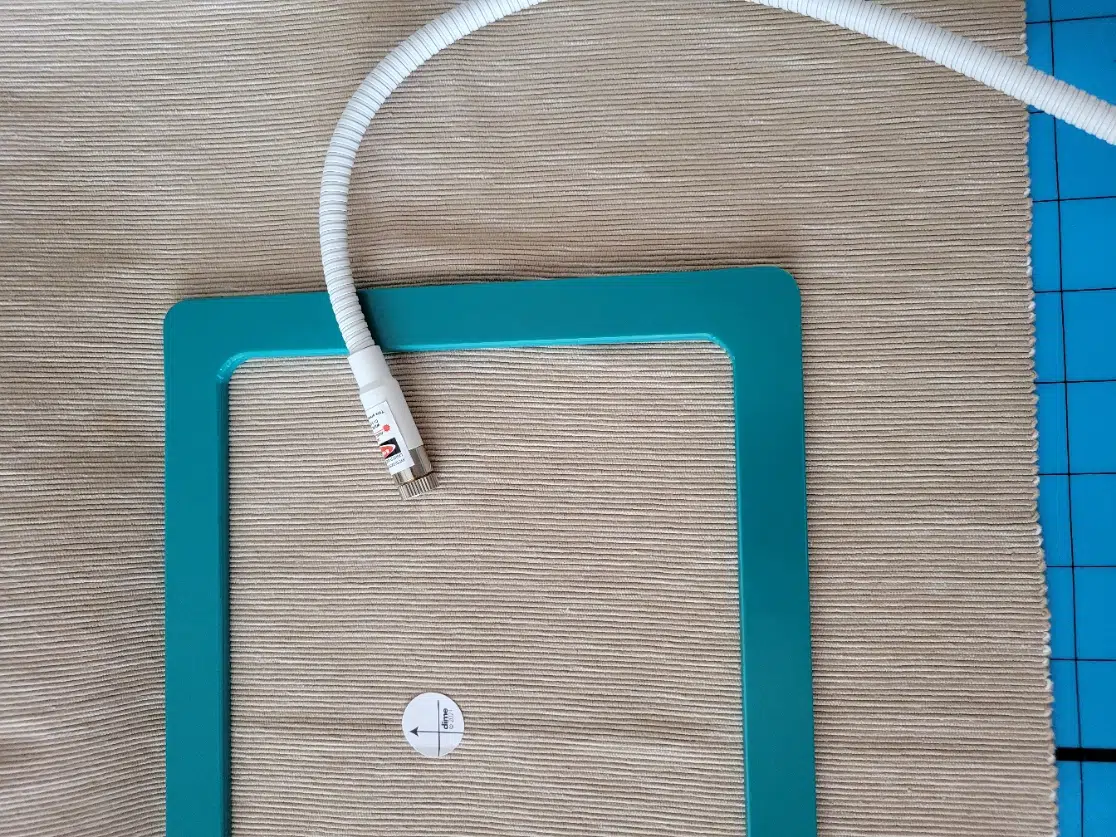
Another helpful tip is to keep the embroidery laser light tip far from your project.
Thanks to physics, the longer distance between the laser source and the embroidery blank, the longer the lines will extend to on either side. When you crane the laser too close, the lines shrink, and the laser output quality is diminished. (See above.)
I’ve already mentioned the importance of using a non-slip mat for hooping, but one other thing to consider is contrast. If you have problems seeing the laser lines, increase the contrast between the laser and hooping area by using white or a lighter color backgroun. Dark colors, or even red colors, may not provide enough contrast. You can also dim room lights if you need more contrast.
And lastly, be careful with lasers and your vision. This isn’t an intense laser, but don’t take chances by staring into it!
Embroidery Projects Benefitting From Laser Help
DIME created this helpful video to show project options for laser alignment.
Examples of use include:
- Locating the center of projects and blocks
- Quilting: centering fill-stitch designs on portions of a quilt block or connecting continuous embroidery quilting motifs
- Hooping with a magnetic hoop, including using their Totally Tubular Hooping Station.
- Working with large and bulky embroidery blanks
So far, I’ve used my PAL3 with my sticky hoops, magnetic hoops, and regular hoops when floating embroidery blanks over them.
It also has uses outside of machine embroidery! For example, when placing vinyl I’ve cut with my Cricut Maker or Brother ScanNCut, I use it as a straight placement line. It works like a charm!
Hopefully, this dime PAL review and tutorial showed you how valuable a laser line can be in creating perfect embroidery alignment! If you frequently have issues lining up blanks, I recommend adding this tool to your embroidery supplies.
Placement is my enemy! How can I use the laser placement tool to place a pattern correctly ( Marine Corps logo) on a golf type shirt?
Thank you!
Barb [email protected]
Have you considered trying something like DIME’s Embroiderer’s Helper to help you mark the correct location first on shirts? Then, you can use a laser placement tool like the PAL to help you hoop/float and correctly line up that marked placement in your hoop.